Sapphire and Pearl Drop Pendants
Three of a kind!
These pendants have been transformed quite a few times in their lives - the oldest section are the sapphires, which are still in their original Victorian belcher settings. Originally these would have been part of a larger suite of jewels, but at some point this was dismantled and the sapphires and their settings were repurposed. When I found them, the sapphires and pearls had been added to a larger vintage pendant - I’ve separated each drop and added new 18ct bales to make three pendants (and a matching pair of earrings which you can find here).
Pendant 3 has the largest sapphire, but it does have a chip to the site and inclusions visible under magnification. All of the sapphires and pearls have some minor surface wear and tiny chips. The pearls naturally have an uneven surface, and are not perfectly round or smooth. The pearl on pendant 1 has some natural pitting on one side, and the pearl on pendant 3 has a few light surface cracks. All pendants are overall in great shape and ready to wear!
Please note this listing is for one pendant only - just select the pendant you want from the drop down menu. In the group photos pendant 1 is on the left, 2 is in the middle and 3 is on the right.
14ct and 18ct gold (the antique settings are 14ct gold, and the new bales are 18ct gold). The gold is unmarked but tested to confirm.
All pendants measure approx 26mm long and the sapphires (including settings) are 6mm across. Each pendant weighs approx 0.8g.
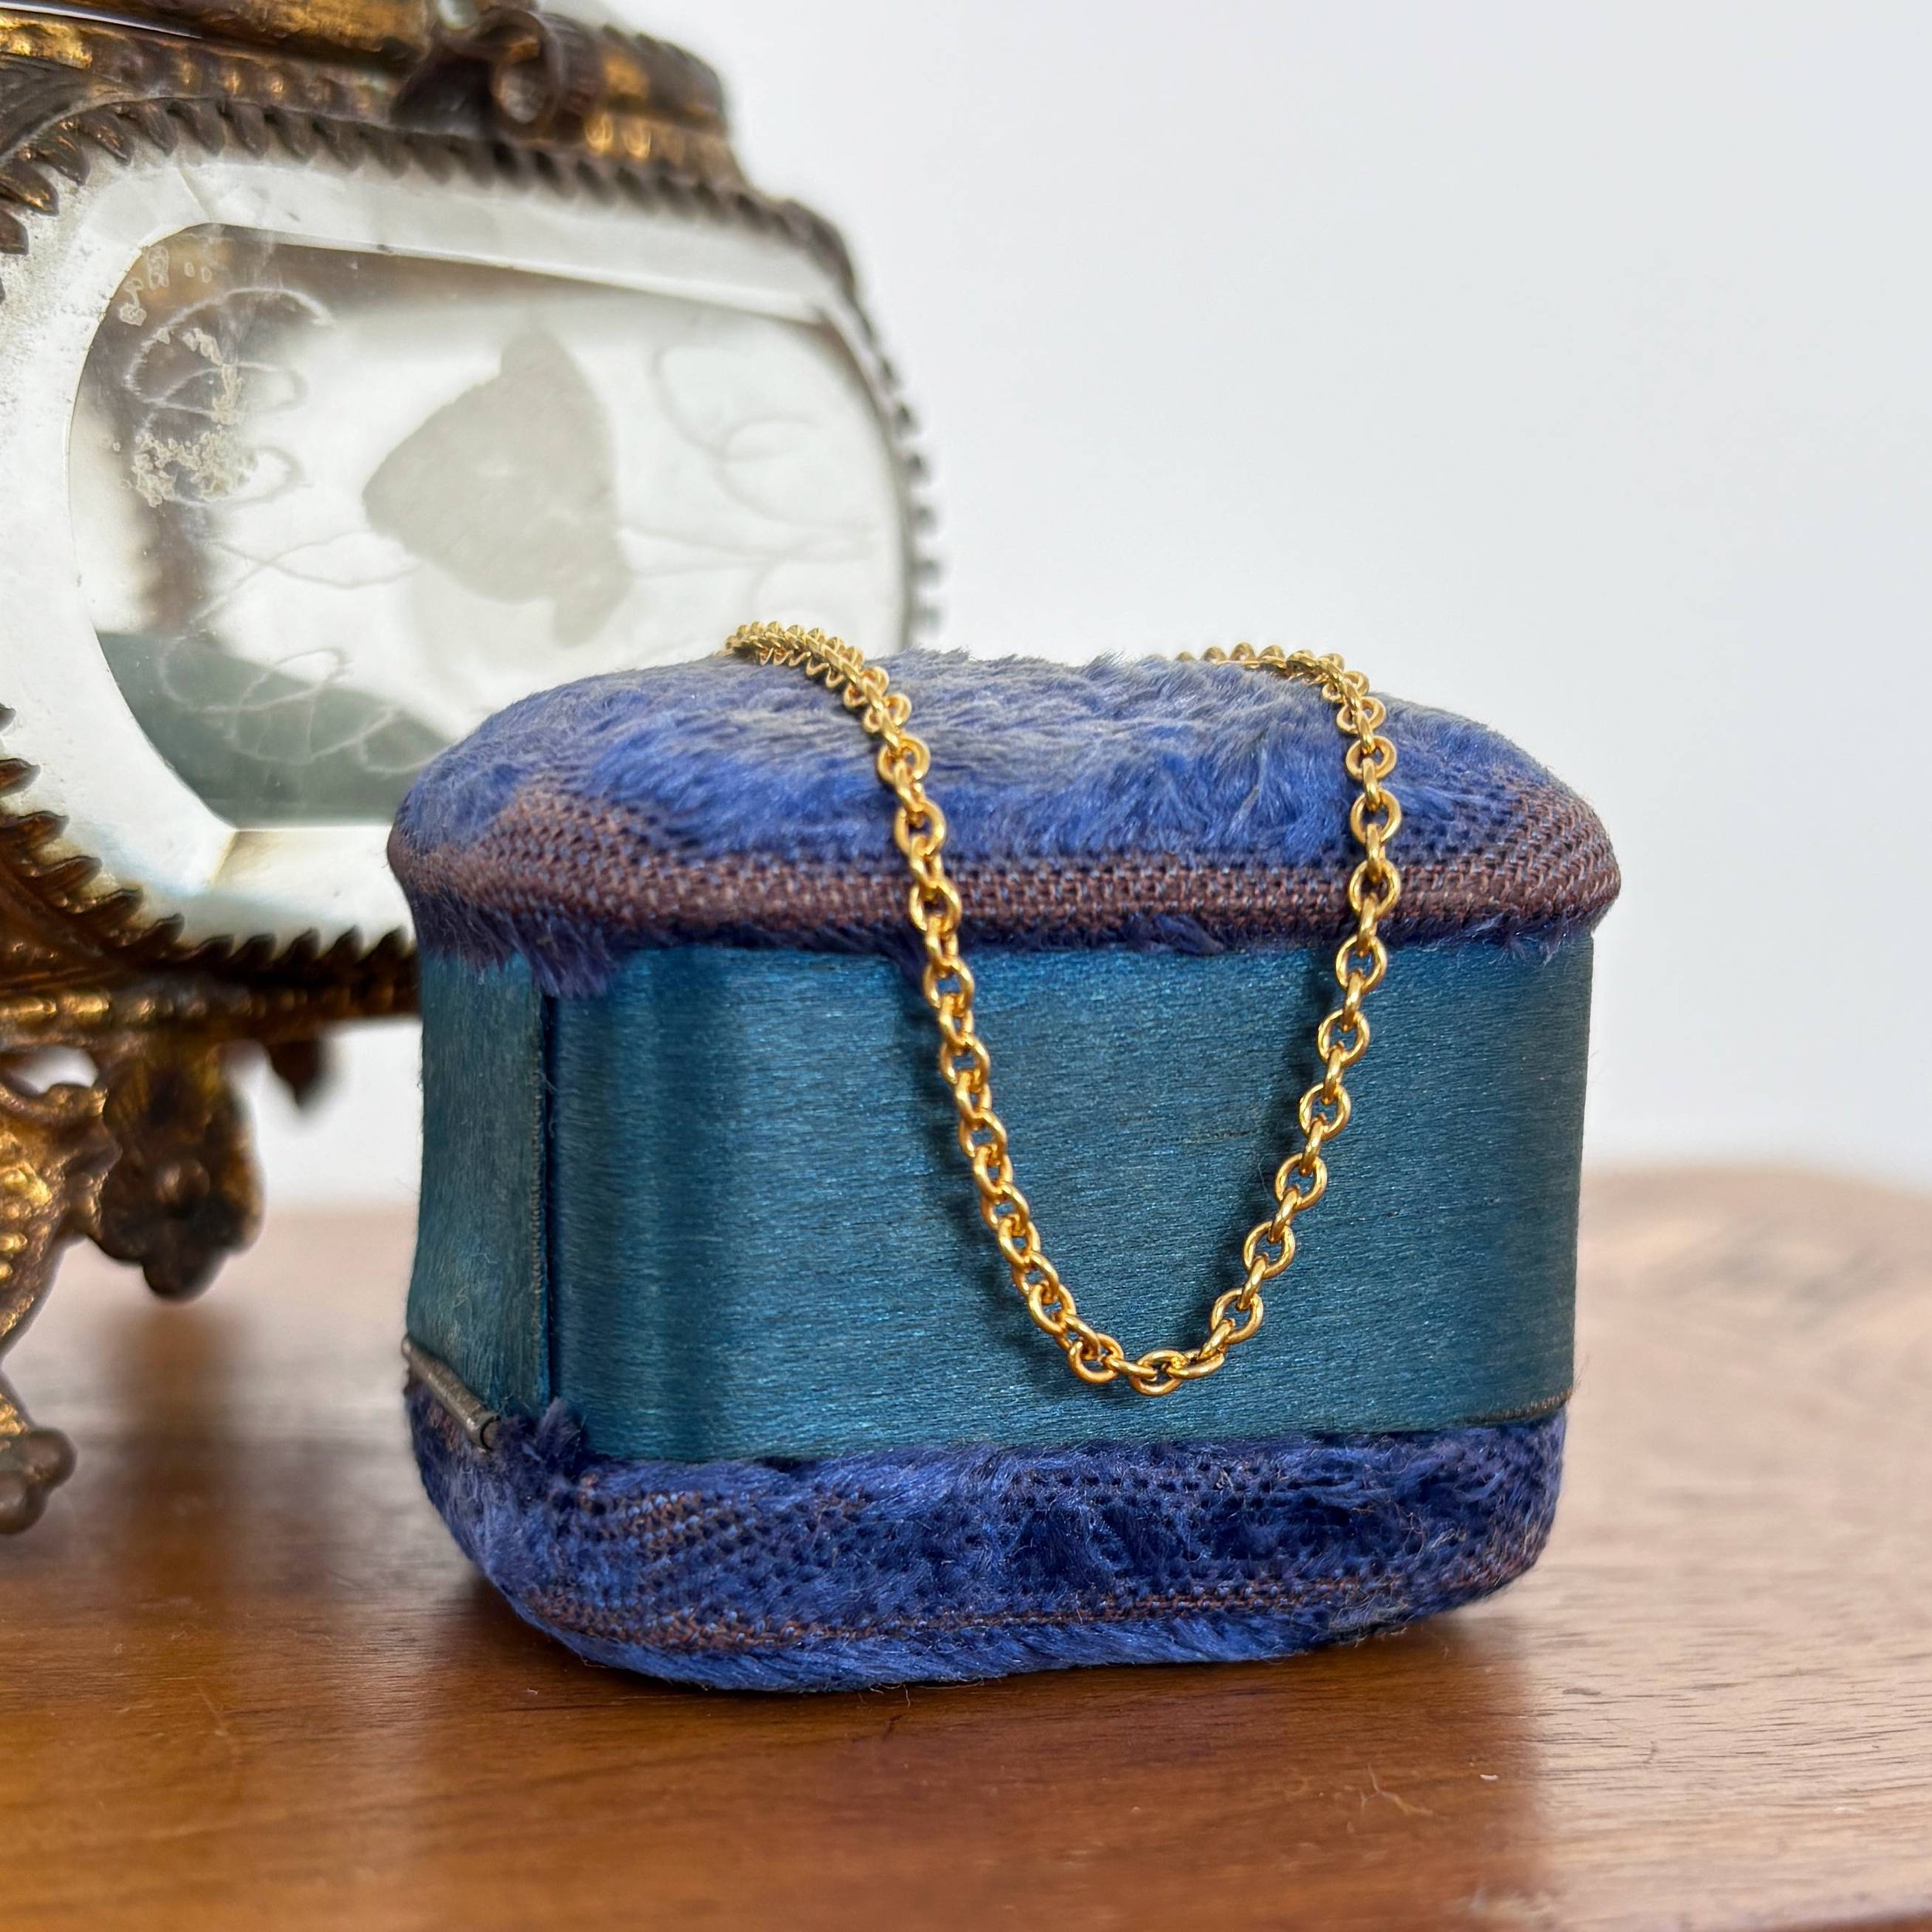
Please note the chain is not included but is available separately here
Free full insured international postage
Three of a kind!
These pendants have been transformed quite a few times in their lives - the oldest section are the sapphires, which are still in their original Victorian belcher settings. Originally these would have been part of a larger suite of jewels, but at some point this was dismantled and the sapphires and their settings were repurposed. When I found them, the sapphires and pearls had been added to a larger vintage pendant - I’ve separated each drop and added new 18ct bales to make three pendants (and a matching pair of earrings which you can find here).
Pendant 3 has the largest sapphire, but it does have a chip to the site and inclusions visible under magnification. All of the sapphires and pearls have some minor surface wear and tiny chips. The pearls naturally have an uneven surface, and are not perfectly round or smooth. The pearl on pendant 1 has some natural pitting on one side, and the pearl on pendant 3 has a few light surface cracks. All pendants are overall in great shape and ready to wear!
Please note this listing is for one pendant only - just select the pendant you want from the drop down menu. In the group photos pendant 1 is on the left, 2 is in the middle and 3 is on the right.
14ct and 18ct gold (the antique settings are 14ct gold, and the new bales are 18ct gold). The gold is unmarked but tested to confirm.
All pendants measure approx 26mm long and the sapphires (including settings) are 6mm across. Each pendant weighs approx 0.8g.
Please note the chain is not included but is available separately here
Free full insured international postage